
Ashes of the Singularity II Ashfall Caldera Map Guide
How to play Ashfall Caldera in Ashes of the Singularity II: the trench chokepoints, the best factions and the openings that survive the funnel.
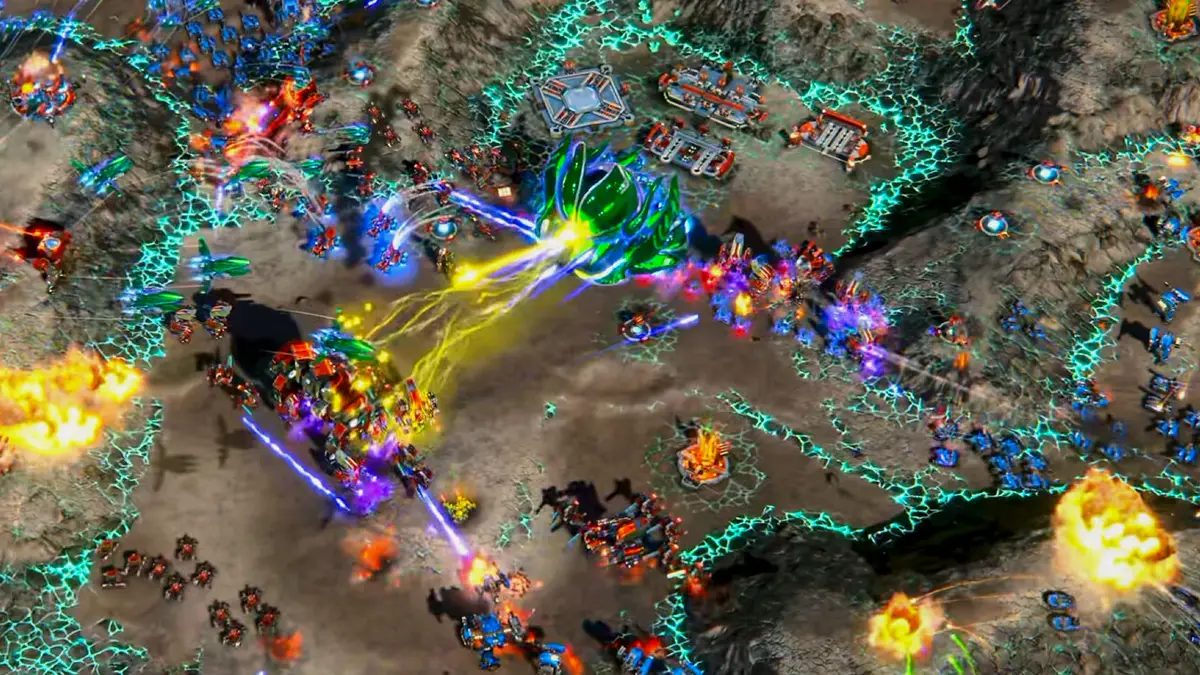
Ashfall Caldera is the small skirmish map that teaches the most important lesson in Ashes of the Singularity II: terrain decides fights before units do. The map is built around trenches and gullies that funnel armies into a handful of chokepoints, and the player who understands the funnel wins.
The official map blog describes it as a small battlefield where trenches and gullies channel armies into choke points. That is the whole design.
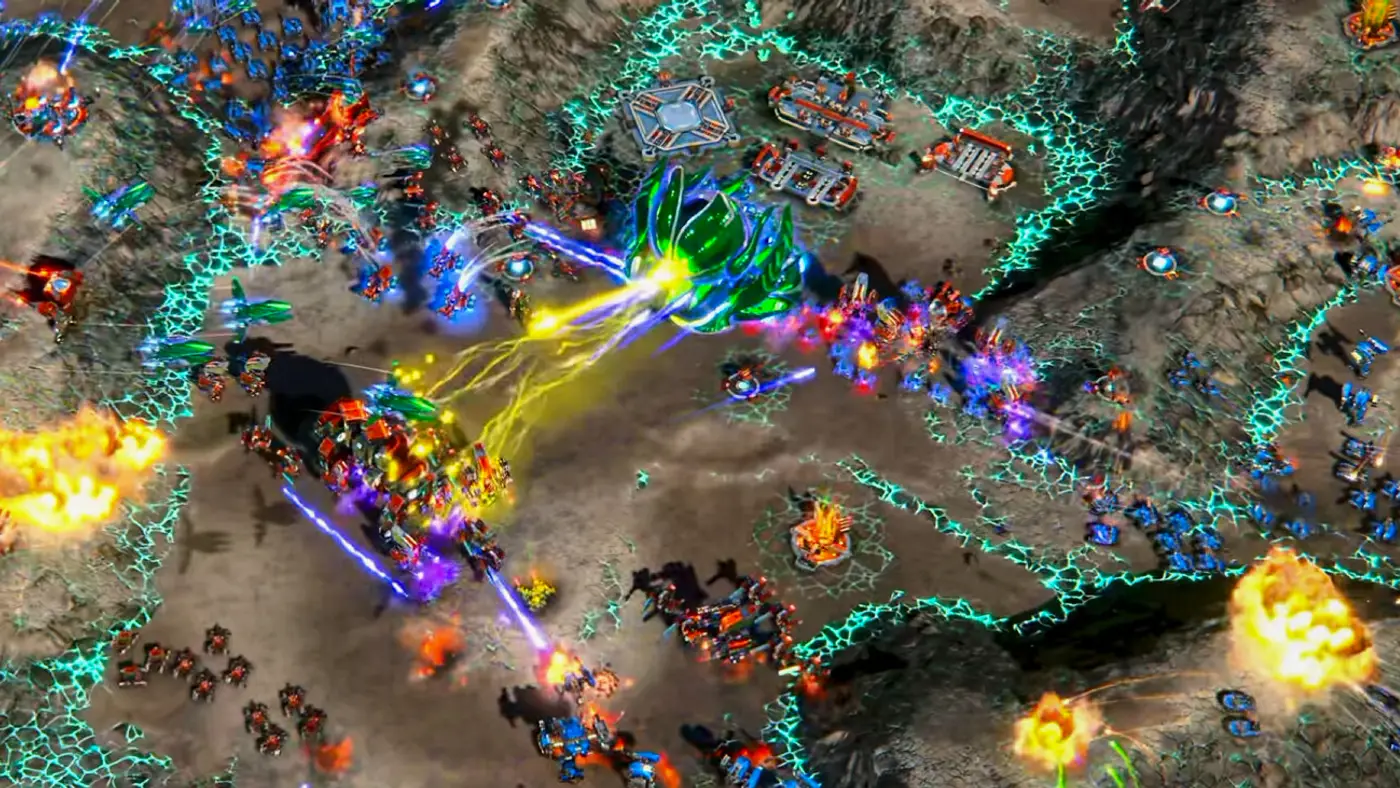
This guide reflects the November 10, 2026 launch build. Re-check key numbers after each patch.
Map layout
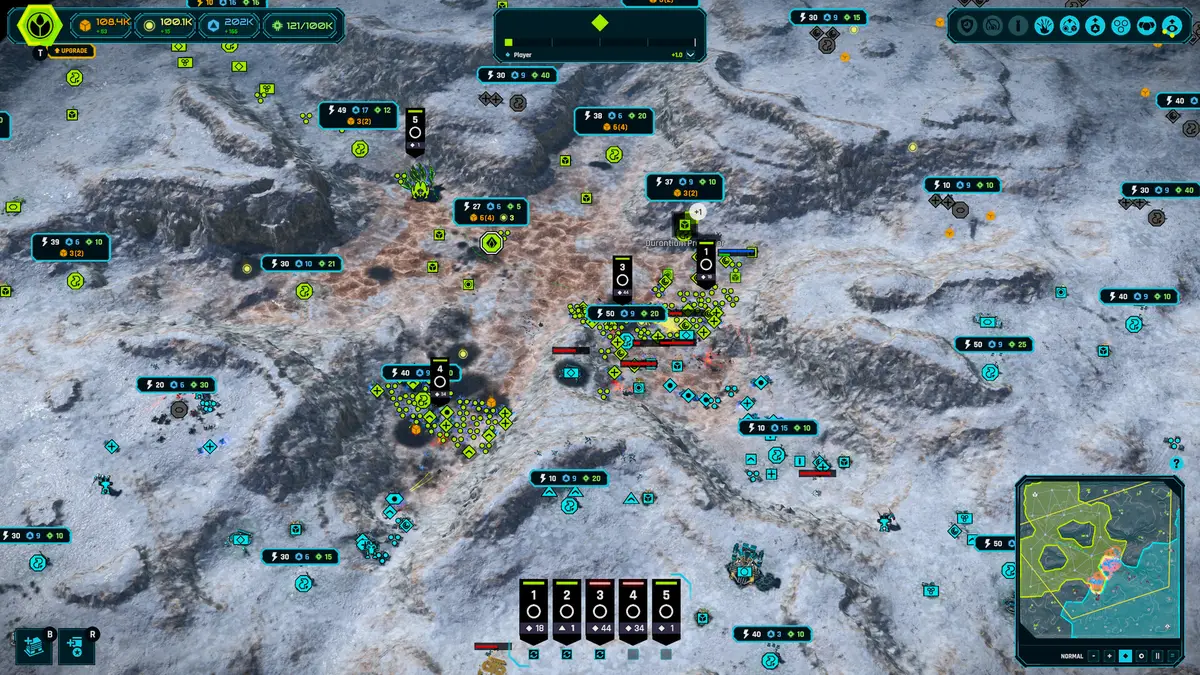
Ashfall Caldera is a caldera: a bowl of ash and rock with raised edges and a broken interior. The trenches run across the approaches, and the gullies connect the open lanes. The result is a map with a small number of wide lanes and a large number of narrow ones.
The practical consequences:
- Armies that blob up in a trench are easy to hit with splash.
- Armies that spread out across the gullies are easy to defeat in detail.
- Artillery that covers a chokepoint is worth more than artillery in the open.
- Air is the only way to bypass the funnel.
Why the chokepoints matter
A chokepoint reduces the frontage of an army. If only ten units can fire into the gap, a 100-unit army cannot bring its full DPS to bear. That favors:
- High-HP units that can hold the gap (Titan, Mauler, Brute).
- Splash damage that hits the units behind the front (Stormbreaker, Zeus, Eye of Darkness).
- Artillery that outranges the gap (Typhon, Artemis, Destructor).
It punishes:
- Cheap infantry that dies faster than it can reinforce.
- Wide flanking armies that cannot find a flank.
- Super units that get stuck in the gap and focused down.
The opening
On a small map, the first fight comes early. A safe opening:
- Extractor on the nearest node.
- Production building.
- Second extractor.
- A small force to take the nearest chokepoint.
Do not over-expand on Ashfall Caldera. The map is small, the regions are close together and an undefended expansion is a gift. Two well-defended regions beat four contested ones.
Faction picks
UEF is the safest pick. Stormbreaker and Titan both love a chokepoint, and Rifle Squads are cheap enough to hold a trench while you tech.
PHC is strong if you can get a Champion into the gap. Champion's 300 DPS and 7,500 HP make it a one-unit roadblock. The risk is the slow start on a map where fights come early.
Substrate is the mobility pick. Reapers can hold a gap, Eradicators can shoot over it and Punishers can fly around it. The shield mechanic rewards pulling back through the trench and re-engaging.
How to break a chokepoint
The map's weakness is that a chokepoint works both ways. If the enemy is holding the gap, do not feed units into it. Instead:
- Fly over it. Aircraft ignore the trench. Punishers, Hades and Hammer Su-75 can hit the artillery behind the gap.
- Shell it. Artillery that outranges the gap can kill the defenders without entering.
- Go around. The gullies connect the lanes; a fast force can appear behind the position.
- Take the economy. If the enemy has committed to the gap, their expansions are vulnerable.
The worst response is a frontal attack with the same army that just lost. The second worst is to sit at the mouth of the gap and trade units into it.
Turinium on Ashfall Caldera
On a small map, the Turinium generator is close to the action. That makes the win condition a brawl rather than a slow siege. If you are playing with Turinium enabled, expect the generator to change hands several times. Build turrets around the approach, not on the point, and keep a mobile reserve.
Common mistakes
- Building a wall of turrets. Turrets cannot hold a gap alone; they need a mobile force behind them.
- Ignoring air. The trenches do not stop aircraft, and a single bomber can clear an artillery position.
- Over-expanding. The map is small; four regions is a lot. Defend what you take.
- Fighting in the open. If you have the chokepoint, make the enemy come to you.
For the next step, read Ashes of the Singularity II Maps Guide→.
FAQ
How big is Ashfall Caldera? It is a small skirmish map, designed for fast games and early fights.
What is the best faction on Ashfall Caldera? UEF is the safest because Titan and Stormbreaker excel in chokepoints. Substrate is the best if you can use air to bypass the trenches.
How do I break a trench camp? Use aircraft, artillery or a flank through the gullies. Do not attack into the gap with a ground army.
Sources
Official source: Ashfall Caldera map blog ↗
Keep reading
Related Guides
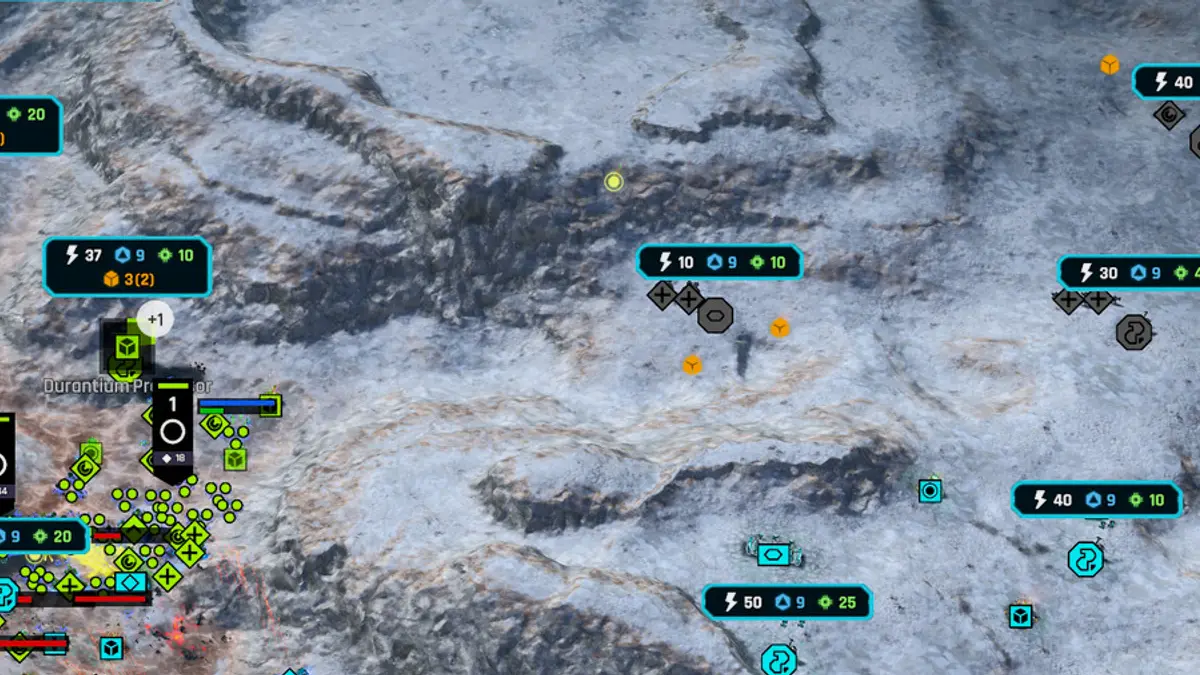
Ashes of the Singularity II Maps Guide
The launch maps of Ashes of the Singularity II, from the small snow map Twin Lakes to the canyon map Scorched Divide, and how each shape changes your build.
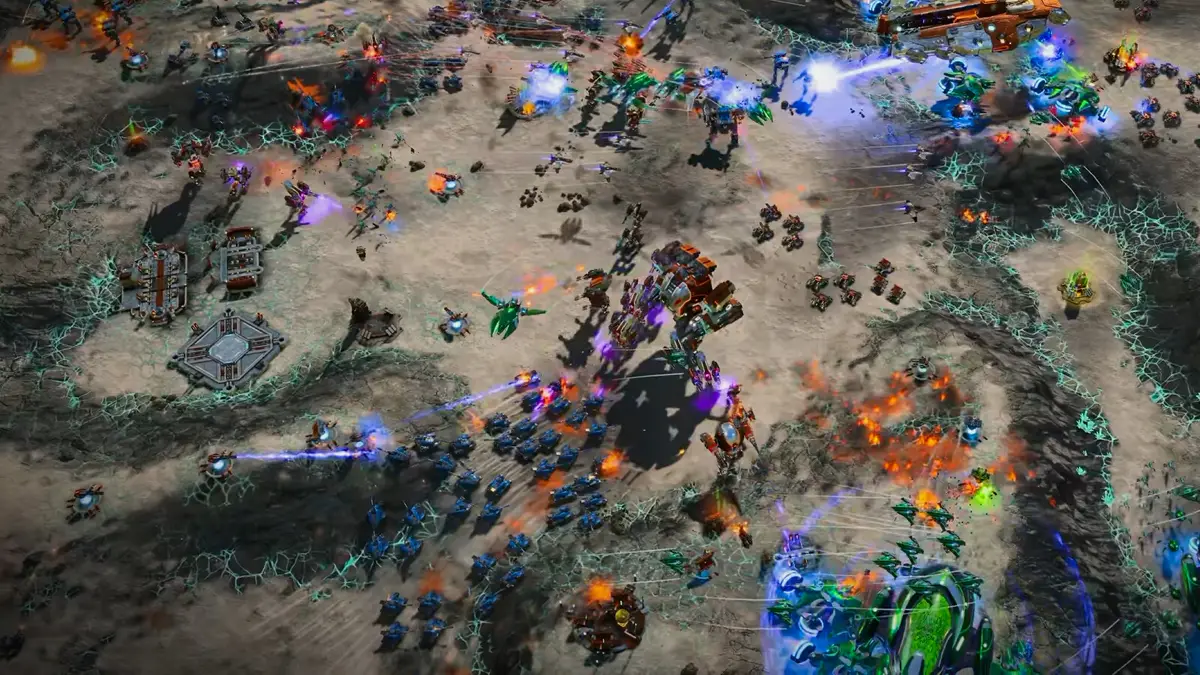
Ashes of the Singularity II Multiplayer Guide
Multiplayer in Ashes of the Singularity II: army composition, scouting, team roles, the 100-unit army cap and the launch balance issues to know.
Ashes of the Singularity II Unit Counters and Damage Types
How armor, thermal damage, shields and range decide fights in Ashes of the Singularity II, with concrete unit counters for all three factions.
Ashes of the Singularity II Economy Guide
Durantium, Elerite and Quanta explained: extractors, refineries, region Power and the economic opening that beats a bigger army.
Ashes of the Singularity II Achievements Guide
The confirmed achievement data for Ashes of the Singularity II, the fastest completion routes and why 30 of the 35 achievements are rare.
Ashes of the Singularity II Beginner Guide: First 20 Minutes
A practical opening for Ashes of the Singularity II: first build, region capture, Power and Logistics, army control and the mistakes that lose games.
More Ashes of the Singularity II Guides
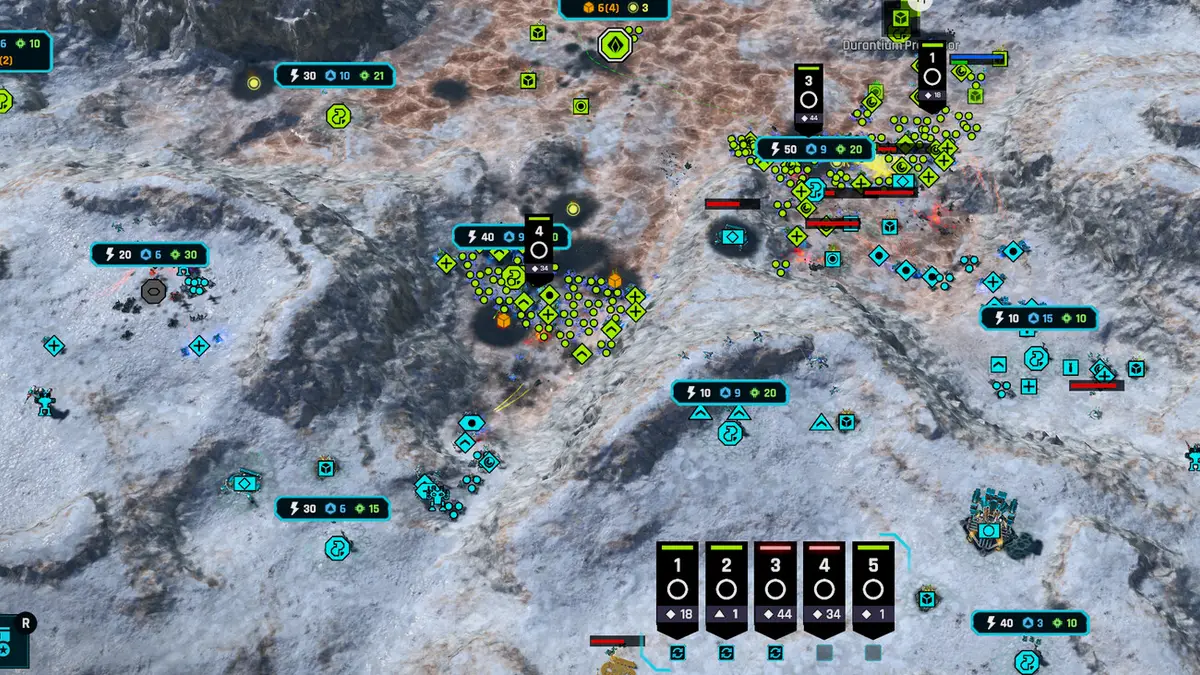
Ashes of the Singularity II Best Settings for Performance
A practical settings guide for Ashes of the Singularity II: resolution, presets, shadows, VSync and the Windows tweaks that help a CPU-bound RTS.
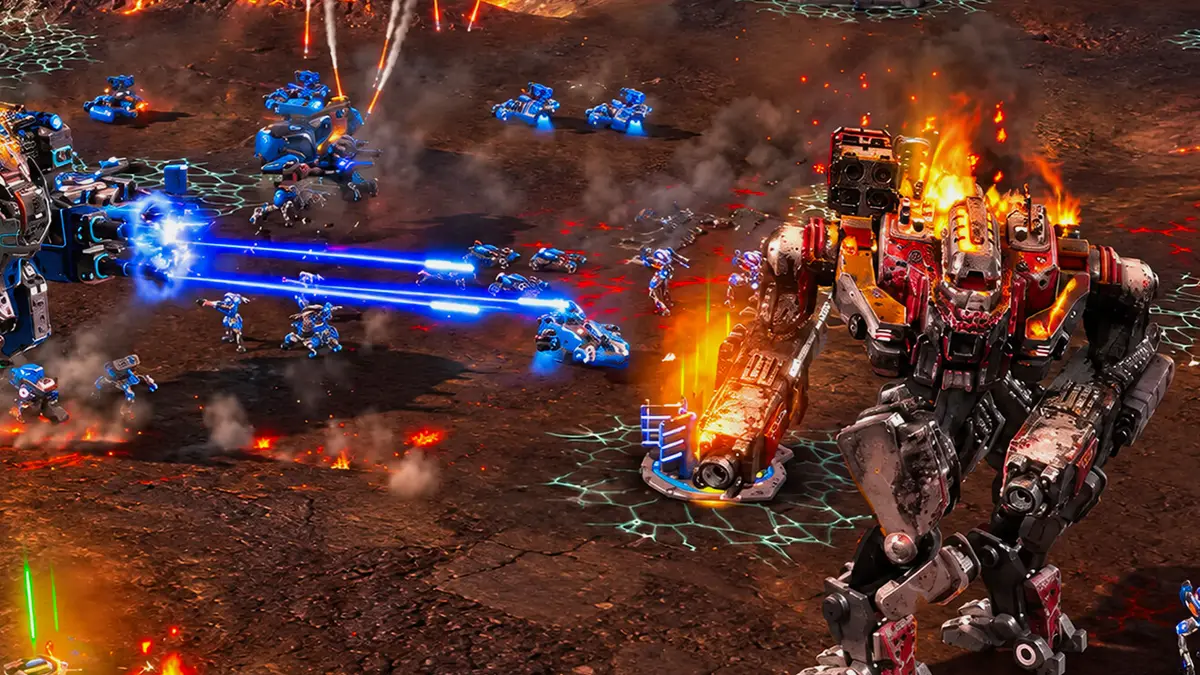
Ashes of the Singularity II Best Units Tier List
A launch tier list for Ashes of the Singularity II: the best units by role, the traps to avoid and the super units worth their logistics.
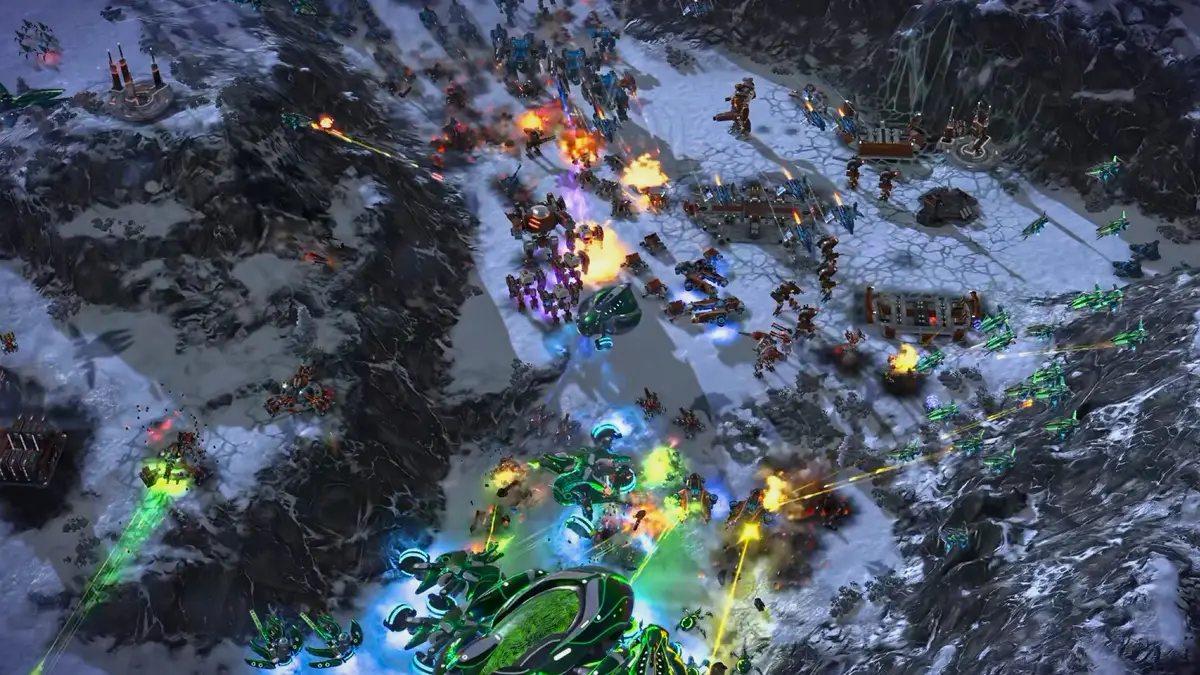
Ashes of the Singularity II Campaign Walkthrough
A spoiler-light walkthrough for the 10-mission Ashes of the Singularity II campaign: mission pacing, difficulty spikes, achievements and army tips.
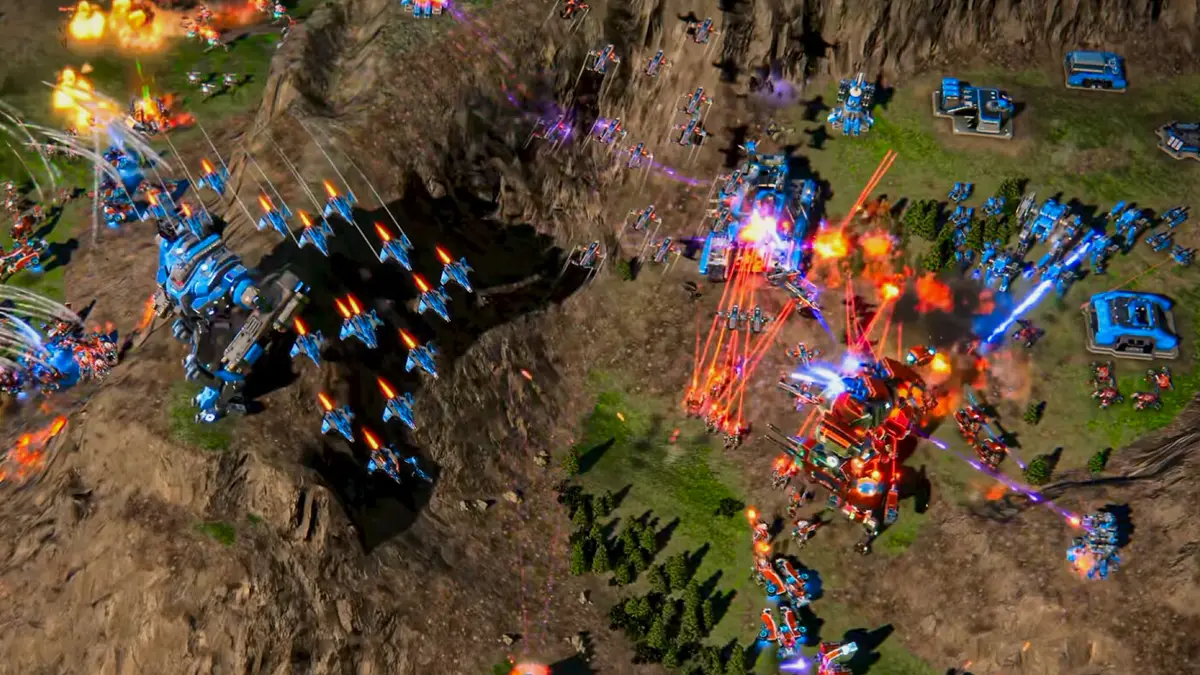
Ashes of the Singularity II Factions Guide
How UEF, PHC and Substrate actually differ in Ashes of the Singularity II: rosters, economy, defense, air and which faction to pick first.
Ashes of the Singularity II Performance Guide
Why Ashes of the Singularity II drops frames in big battles, what the benchmarks show and the settings changes that actually help.
Ashes of the Singularity II PHC Build Order
A Post-Human Coalition opening for Ashes of the Singularity II: Factory units, the Forge transition and the first Champion timing.
Ashes of the Singularity II PHC Units and Stats
All 20 Post-Human Coalition units in Ashes of the Singularity II: stats, costs, aircraft, commanders and the upgrade path to Hyperion.
Ashes of the Singularity II Substrate Build Order
A Substrate opening for Ashes of the Singularity II: cheap Hatchlings, the Eradicator timing, Reaper trades and the first Punisher.