
Ashes of the Singularity II Beginner Guide: First 20 Minutes
A practical opening for Ashes of the Singularity II: first build, region capture, Power and Logistics, army control and the mistakes that lose games.
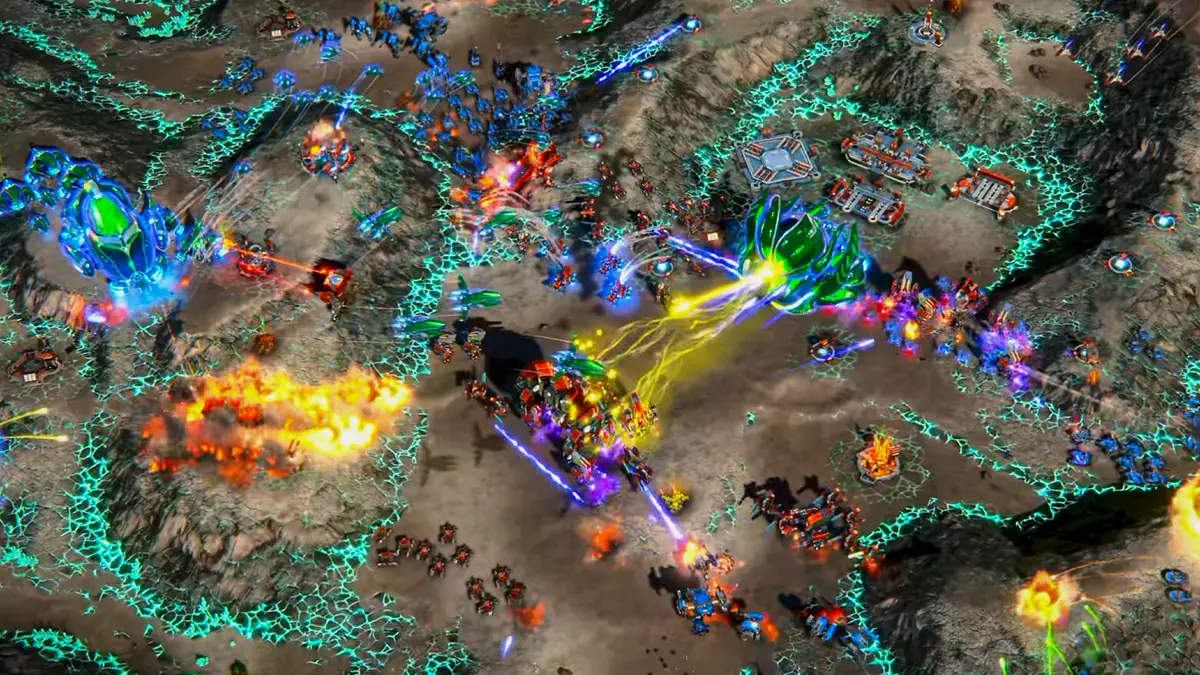
Ashes of the Singularity II looks like a game about giant armies. It is actually a game about the first ten minutes. If your economy is behind when the first Titan arrives, no amount of unit micro will fix it. This guide gives you a repeatable opening and the four concepts that decide most matches.
It assumes a standard skirmish or multiplayer start with one commander and a starting army.
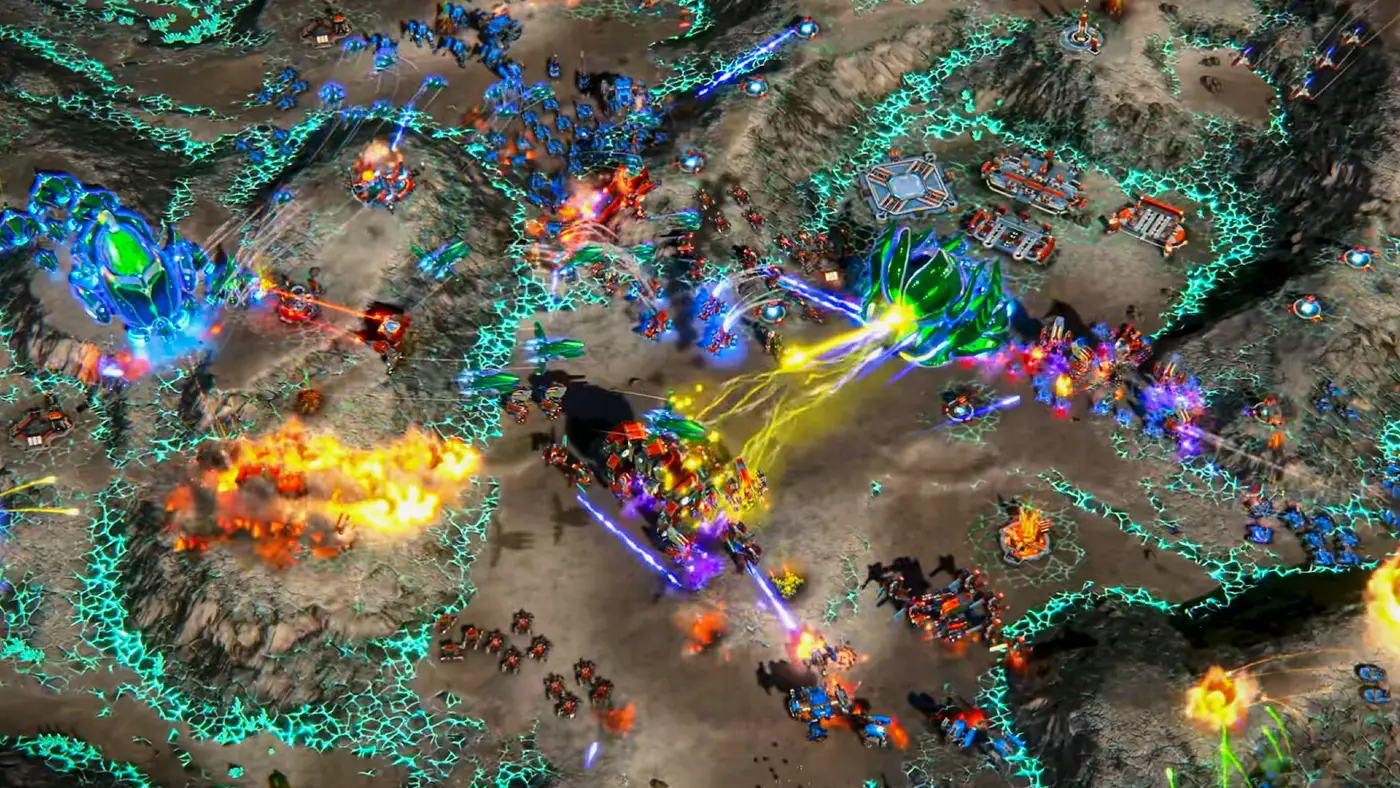
This guide reflects the November 10, 2026 launch build. Re-check key numbers after each patch.
Minute 0–3: economy before army
Your first job is to secure income, not to build a death ball. Queue extractors on the nearest Durantium and Elerite nodes, then add production. A common beginner mistake is to build five Barracks before the second extractor; that produces units you cannot afford to replace.
Priority order:
- Durantium extractor on the closest node.
- Elerite extractor on the closest node.
- One production building that matches your faction.
- Second extractor pair.
- Supply and research.
Durantium pays for units and buildings. Elerite pays for advanced units, research and upgrades. Running out of Elerite in the mid-game is the most common economic failure, because players spend it on units and then cannot afford the research that unlocks better ones.
Minute 3–8: take regions, not just nodes
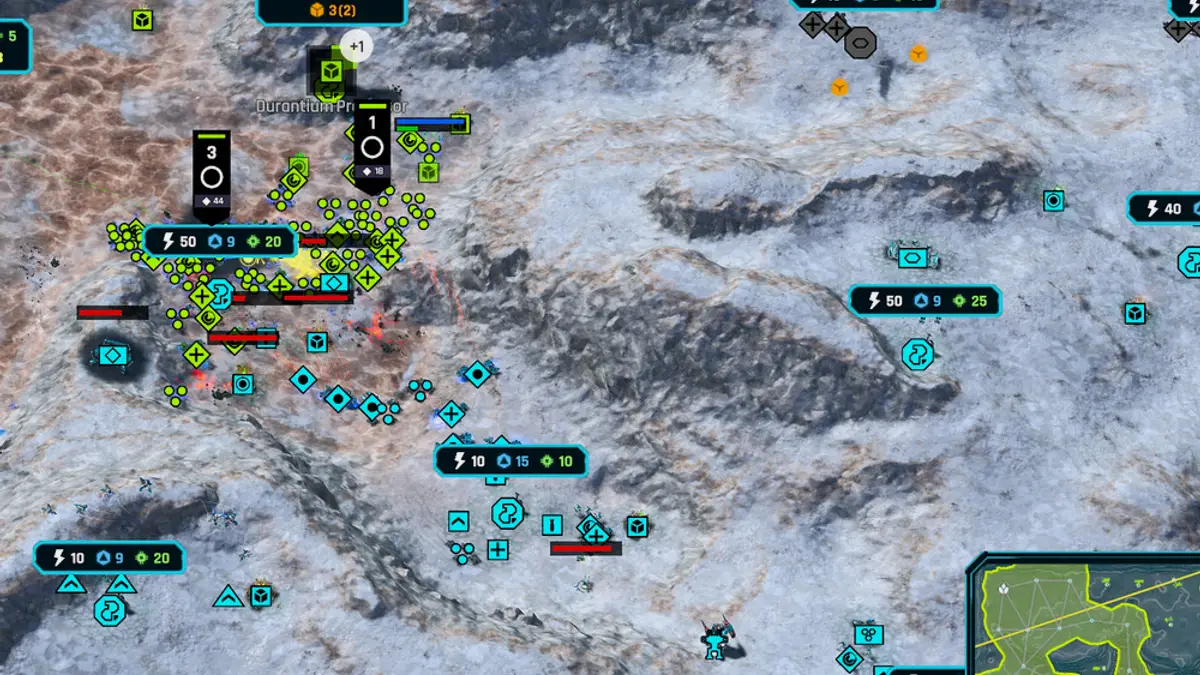
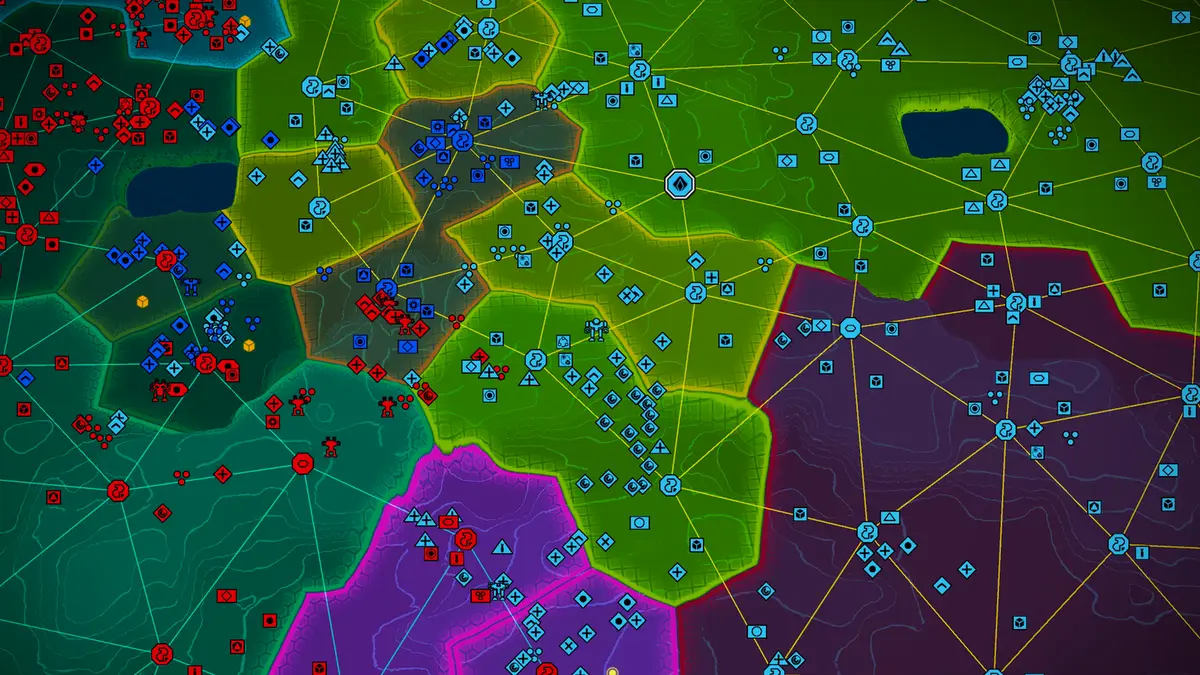
The map is divided into regions. Owning a region gives you its base resources, and the central building in a region provides either Power or Logistics. Power limits how many buildings you can place in that region; Logistics limits how many units you can field.
This is the part beginners skip. A player who captures three regions has more Power, more Logistics and more income than a player who builds a perfect base in one region. Expand with your starting army while your production runs. Do not wait for a "safe" army size.
The official region resources blog puts it simply: owning a region is worth more than any single building inside it.
Minute 8–15: build an army with a purpose
Do not build one of everything. Pick a composition and build toward it:
- UEF: Rifle Squads into Titan M-7 with Stormbreaker support.
- PHC: Brute/Hermes into Nemesis and Initiate, then Champion.
- Substrate: Hatchling/Eradicator into Reaper and Punisher.
Every composition needs three things: a line to absorb damage, damage to kill the line, and anti-air. If you have ten line units, two of them should be dedicated anti-air. If you have artillery, keep it behind the line and give it vision with a cheap scout.
Minute 15–20: the first real fight
The first fight is usually decided before it starts. Check three things:
- Logistics. Are you at the cap? If yes, build Logistics structures before more units.
- Anti-air. Does the enemy have aircraft? If yes, queue anti-air now, not after the first bombing run.
- Range. Are you walking into artillery? If yes, attack from a different angle or bring aircraft.
If you lose the first fight, do not rebuild the same army. Check the damage types in the death recap, add the counter and re-engage. The unit counters page explains which damage type beats which armor.
Army control that actually matters
Most units in this game operate in squads, and armies can be ordered as a group. Use Ctrl+number to bind your main army, and keep artillery and anti-air on separate hotkeys so you can position them without dragging the whole blob.
The launch community reports two control issues worth knowing: attack-move can leave stragglers behind, and large armies can feel unresponsive when you issue orders during a fight. The practical workaround is to give shorter move orders and to keep your army cohesion rather than issuing one attack-move across the map.
The four mistakes that lose games
Building too many production buildings. Production is useless without income. One production building per two extractor pairs is a reasonable rhythm.
Ignoring Power. A region with no Power cannot support more buildings. If your production is idle because you are at the Power cap, you are losing tempo.
Over-investing in static defense. Turrets are a supplement, not an army. Ten turrets will not stop a Titan push, but ten tanks will.
Fighting every fight. A bad engagement is worse than no engagement. Pull back, let the enemy overextend into your turrets and counterattack.
A note on difficulty
The campaign has 10 missions and the AI difficulty runs from Trainee to General. On medium, the early missions are forgiving; the difficulty spikes in the later missions when the AI starts sending experimental gunships at your headquarters. If you hit that wall, build more anti-air and attack the production building instead of the army.
Instant Action is the best practice mode. Set the AI to a difficulty one step above what you can beat, play the same map three times and focus on one improvement per game.
For the next step, read Ashes of the Singularity II Factions Guide: UEF vs PHC vs Substrate→.
FAQ
How long is a beginner game? Most skirmish games run 30–60 minutes. Eight-player games can last two hours.
Should I play the campaign first? Yes. The campaign is a UEF tutorial that introduces units and objectives without ladder pressure.
What is the most important resource? Elerite in the mid-game, because it gates advanced units and research. Durantium is more important in the first five minutes.
Sources
Official source: Ashes of the Singularity II on Steam ↗
Keep reading
Related Guides
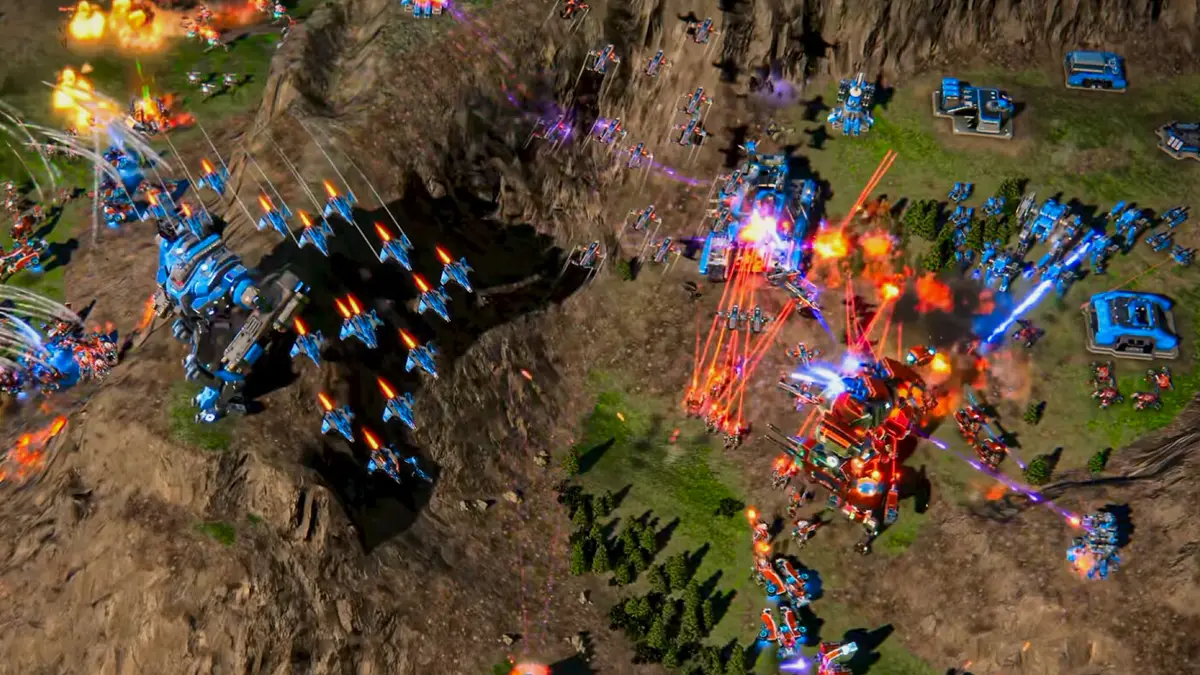
Ashes of the Singularity II Factions Guide
How UEF, PHC and Substrate actually differ in Ashes of the Singularity II: rosters, economy, defense, air and which faction to pick first.
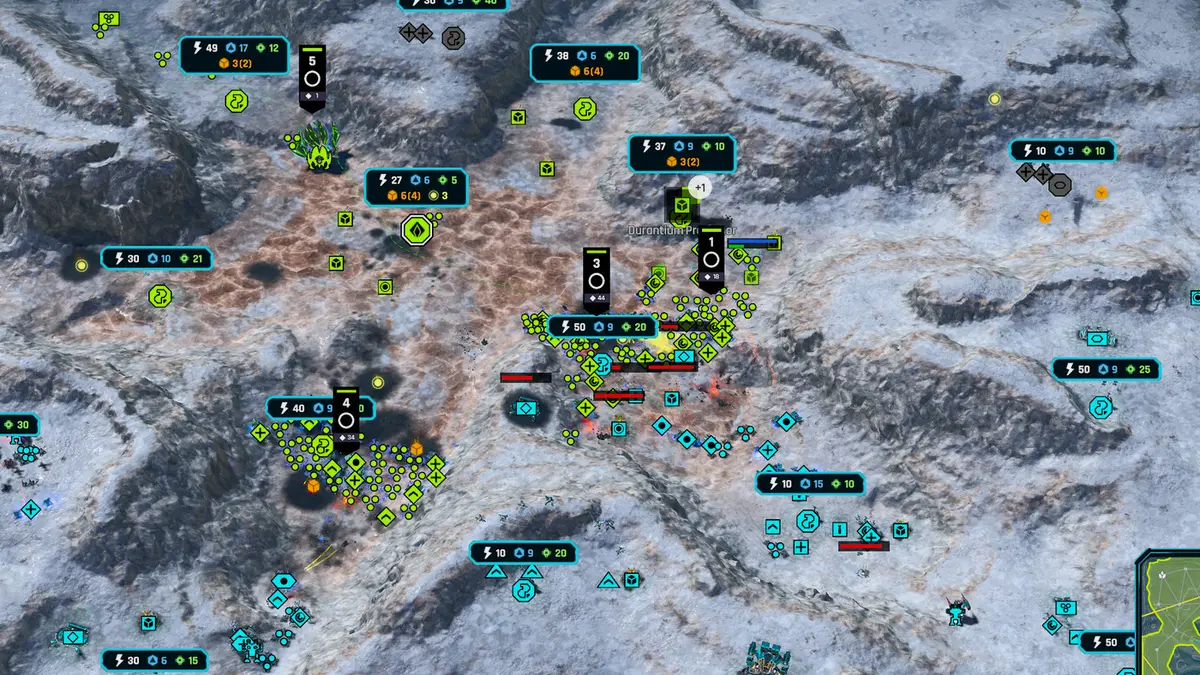
Ashes of the Singularity II Economy Guide
Durantium, Elerite and Quanta explained: extractors, refineries, region Power and the economic opening that beats a bigger army.
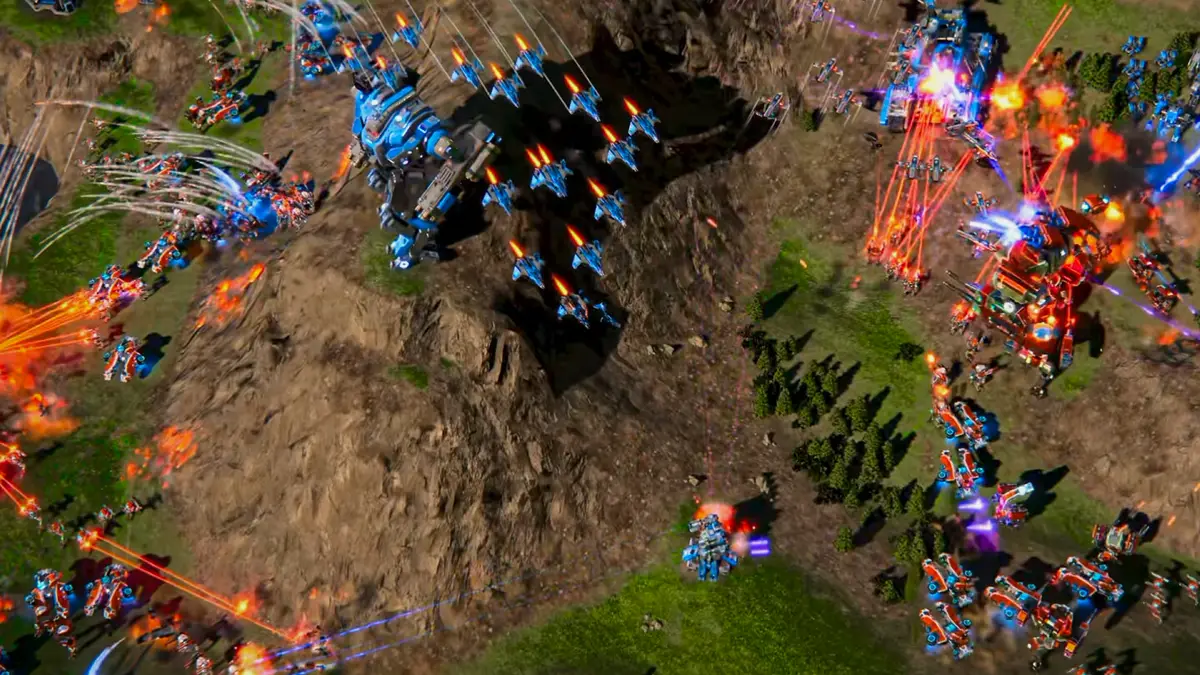
Ashes of the Singularity II UEF Build Order
A safe UEF opening for Ashes of the Singularity II: extractors, Barracks, Motor Pool, Armory and the first Titan M-7 timing.
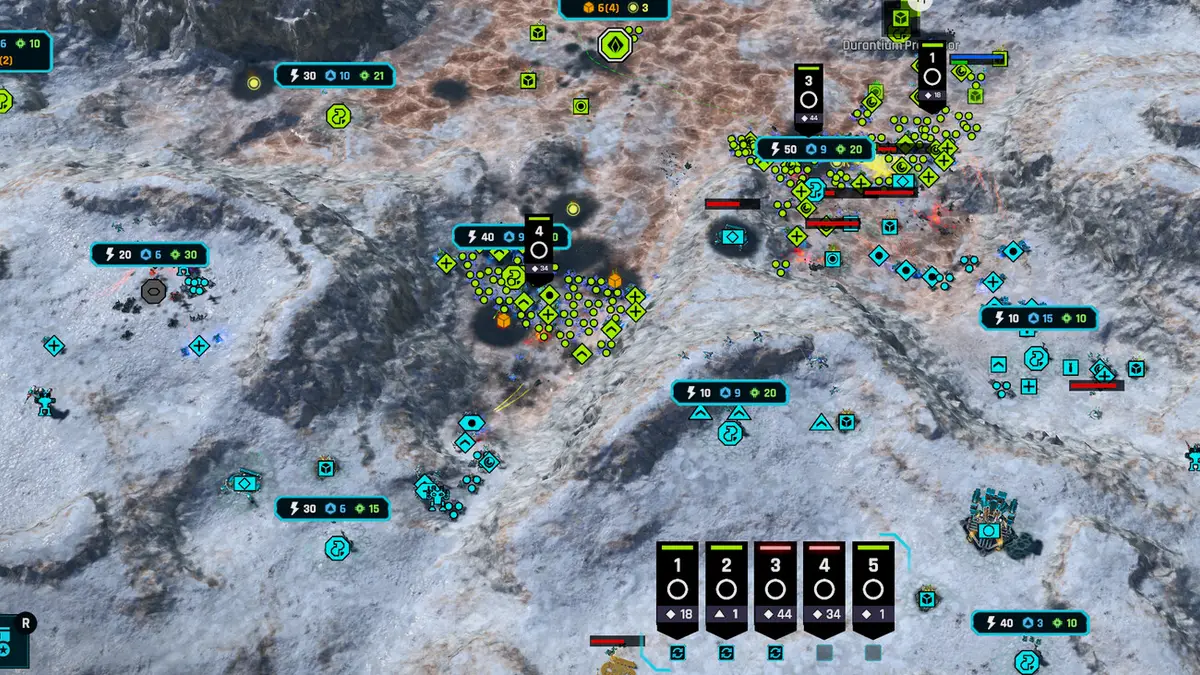
Ashes of the Singularity II Best Settings for Performance
A practical settings guide for Ashes of the Singularity II: resolution, presets, shadows, VSync and the Windows tweaks that help a CPU-bound RTS.
Ashes of the Singularity II Achievements Guide
The confirmed achievement data for Ashes of the Singularity II, the fastest completion routes and why 30 of the 35 achievements are rare.
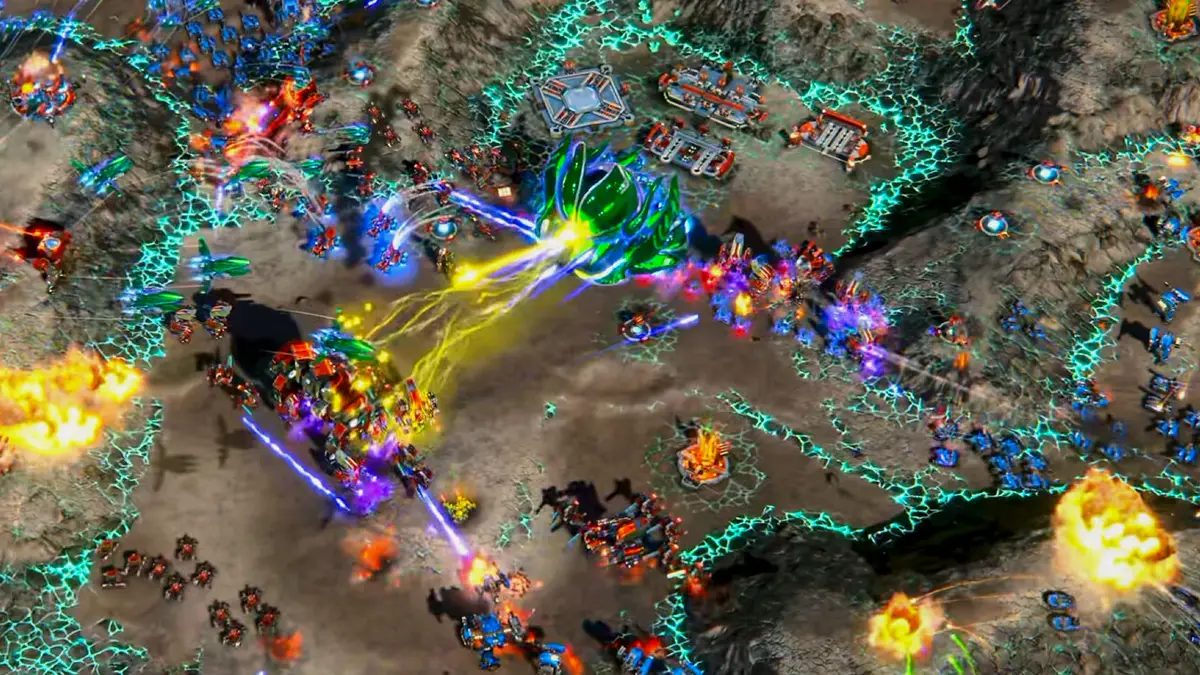
Ashes of the Singularity II Ashfall Caldera Map Guide
How to play Ashfall Caldera in Ashes of the Singularity II: the trench chokepoints, the best factions and the openings that survive the funnel.
More Ashes of the Singularity II Guides
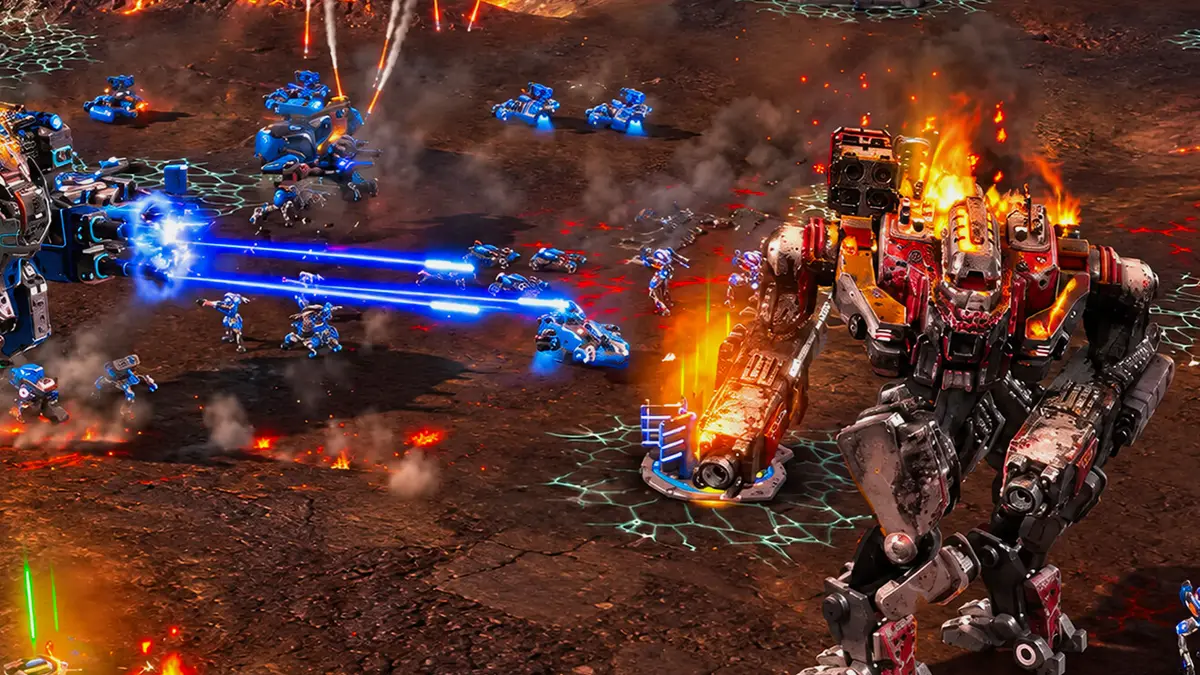
Ashes of the Singularity II Best Units Tier List
A launch tier list for Ashes of the Singularity II: the best units by role, the traps to avoid and the super units worth their logistics.
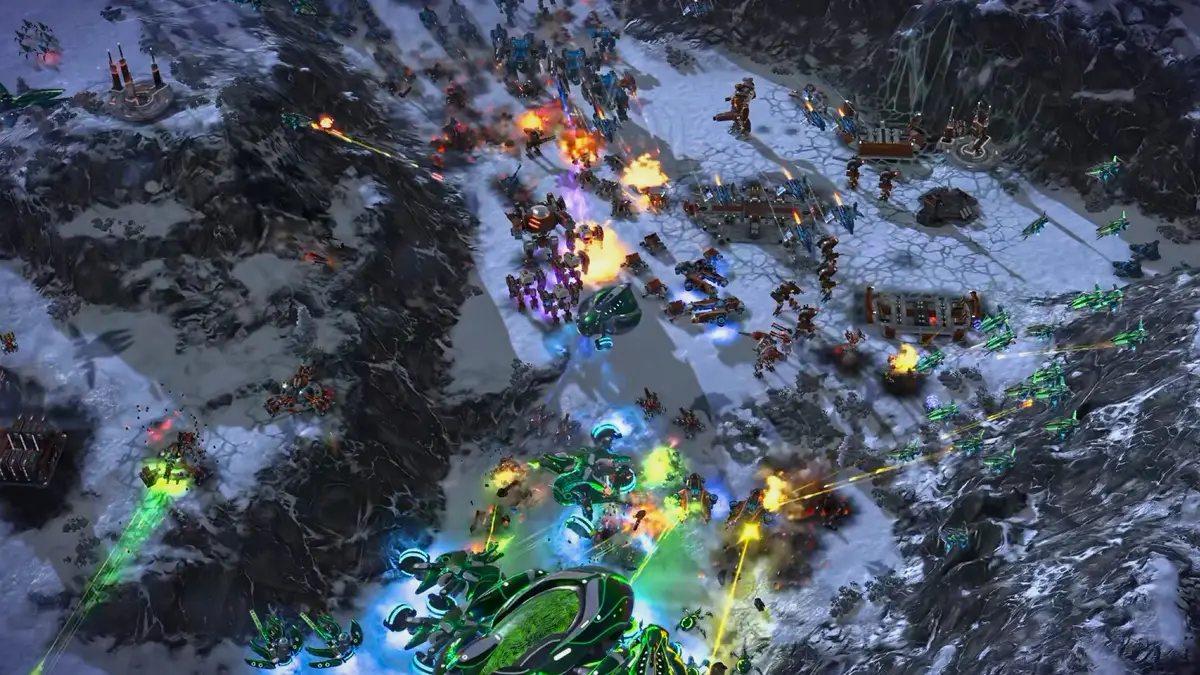
Ashes of the Singularity II Campaign Walkthrough
A spoiler-light walkthrough for the 10-mission Ashes of the Singularity II campaign: mission pacing, difficulty spikes, achievements and army tips.
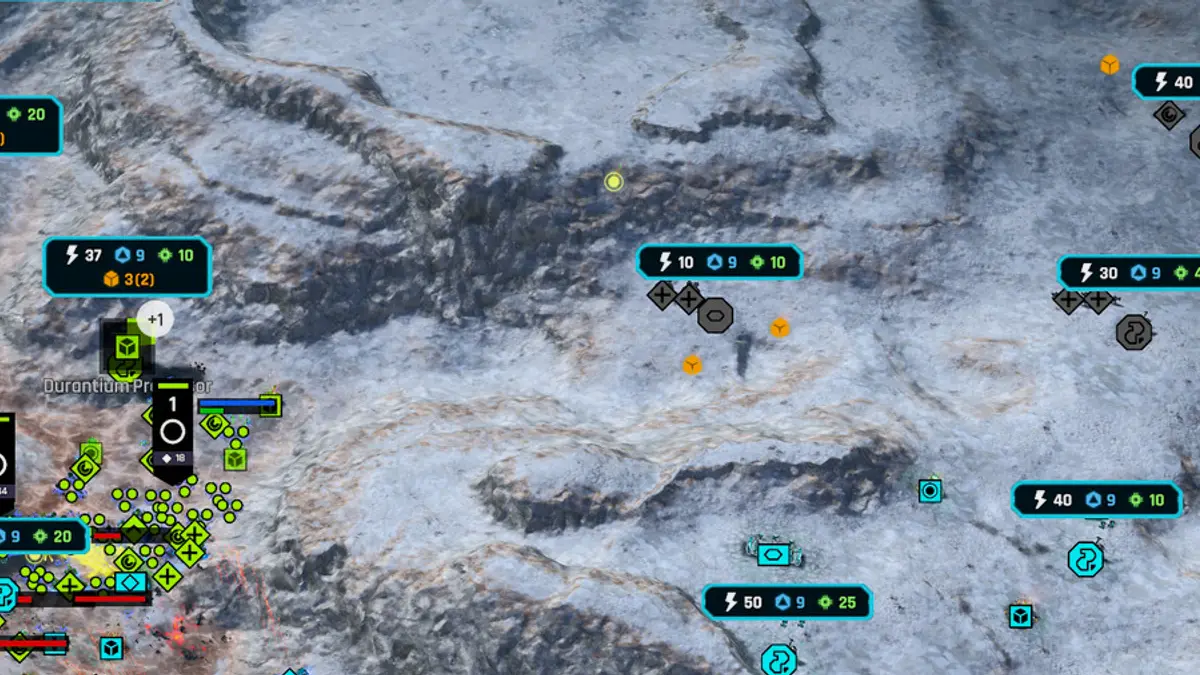
Ashes of the Singularity II Maps Guide
The launch maps of Ashes of the Singularity II, from the small snow map Twin Lakes to the canyon map Scorched Divide, and how each shape changes your build.
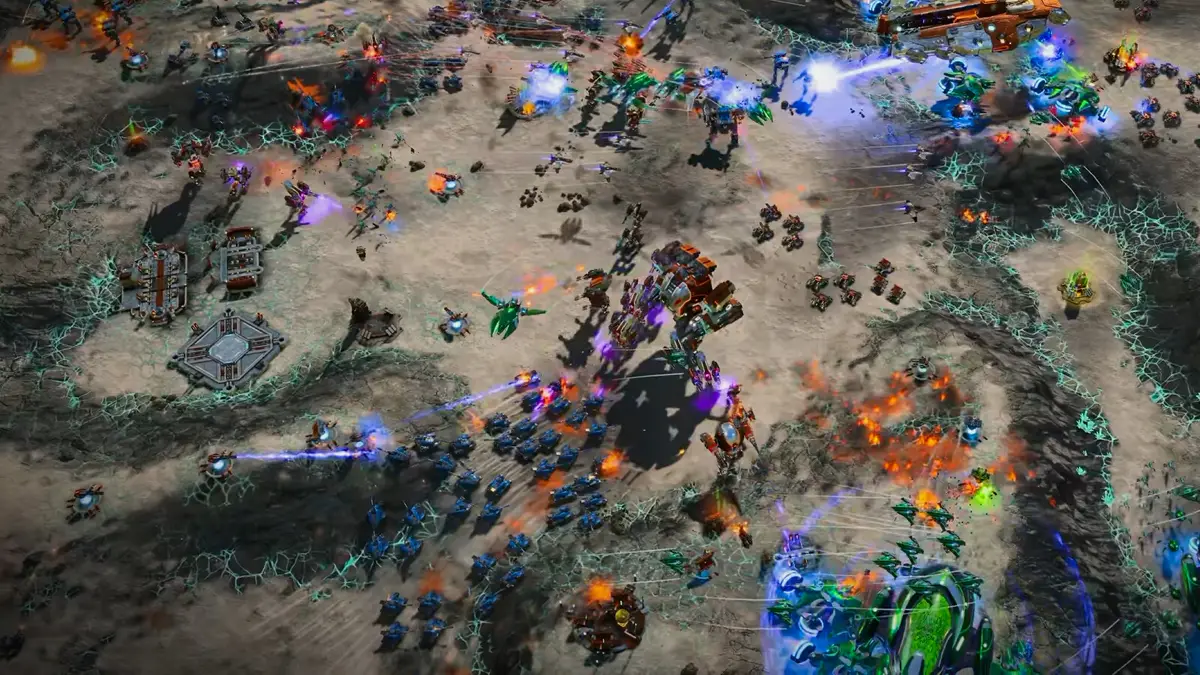
Ashes of the Singularity II Multiplayer Guide
Multiplayer in Ashes of the Singularity II: army composition, scouting, team roles, the 100-unit army cap and the launch balance issues to know.
Ashes of the Singularity II Performance Guide
Why Ashes of the Singularity II drops frames in big battles, what the benchmarks show and the settings changes that actually help.
Ashes of the Singularity II PHC Build Order
A Post-Human Coalition opening for Ashes of the Singularity II: Factory units, the Forge transition and the first Champion timing.
Ashes of the Singularity II PHC Units and Stats
All 20 Post-Human Coalition units in Ashes of the Singularity II: stats, costs, aircraft, commanders and the upgrade path to Hyperion.
Ashes of the Singularity II Substrate Build Order
A Substrate opening for Ashes of the Singularity II: cheap Hatchlings, the Eradicator timing, Reaper trades and the first Punisher.